After two years on my bike, the urge to try something new was kicking in with full force.
Having loved my first generation Santa Cruz Bronson, when the opportunity came to upgrade to a 2019 Bronson, the decision did not take long to make.
With the help from Bespoke Cycles in Bray, a brand new aluminium frame was delivered to my house a couple of months ago. I decided to go for a frame only option because I’ve become used to building up my own bikes and being able to hand pick every component.
This is not going to be a bike review, that will come later. For now, this is will be a picture-rich bike check on how I’ve built up my Santa Cruz.
The frame is an aluminium 2019 model Santa Cruz Bronson in Primer Grey and size large. I fall right in between the recommended size for the large and extra-large frames. As I like my bike playful, I’ve always chosen the smaller option.
Before starting the build, I protected the frame using a matte bicycle paint protection film from Wrap Direct. I bought one of the smallest lengths they sell and only used half of it covering the top & down tubes, seat post and stanchions, leaving me enough to replace any that gets damaged.
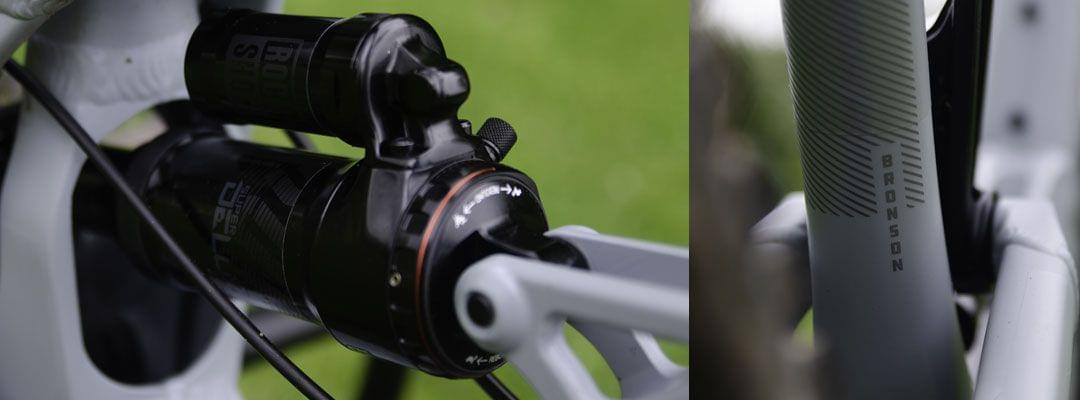
The aluminium frames come with a Rockshock Super Deluxe R shock. This may seem like a cheap option for a premium brand like Santa Cruz, but initial reviews rate this shock very highly, so, for now, it will be staying on my bike. I used the J-Tech Suspension setup service to get my shock and fork settings. You fill in their form online with the makes and models of your bike, fork and shock along with your riding weight - which is your weight fully kitted out - your skill level and what terrain you ride most frequently. I’ve used this service before and was very happy with the settings they suggested.
Following their advice, I’ve set the Super Deluxe for 30% sag, with the three volume spacers the shock comes with as standard and the rebound dial set to six clicks from maximum.
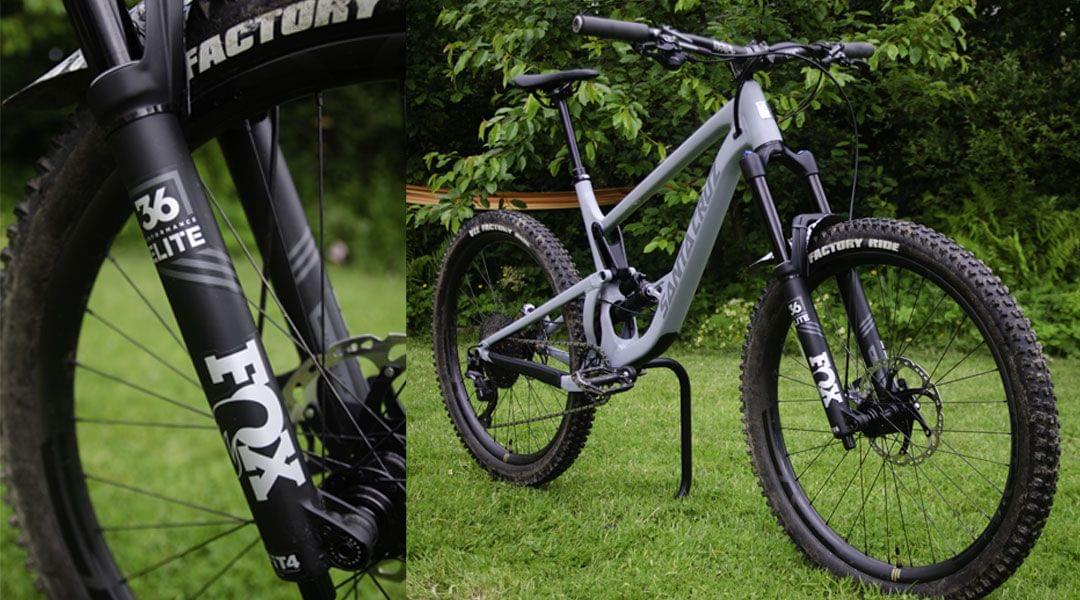
For the front suspension, I chose the Fox 36 Performance Elite with 160mm of travel. I went with the Elite over the Factory mostly for aesthetic reasons, I like the black and grey colour scheme. Again going by J-Tech Suspension settings the fork is set up with 80psi of air pressure and the stock two volume spacers. The rebound is set to six clicks from maximum and the low-speed compression to eight clicks from maximum.
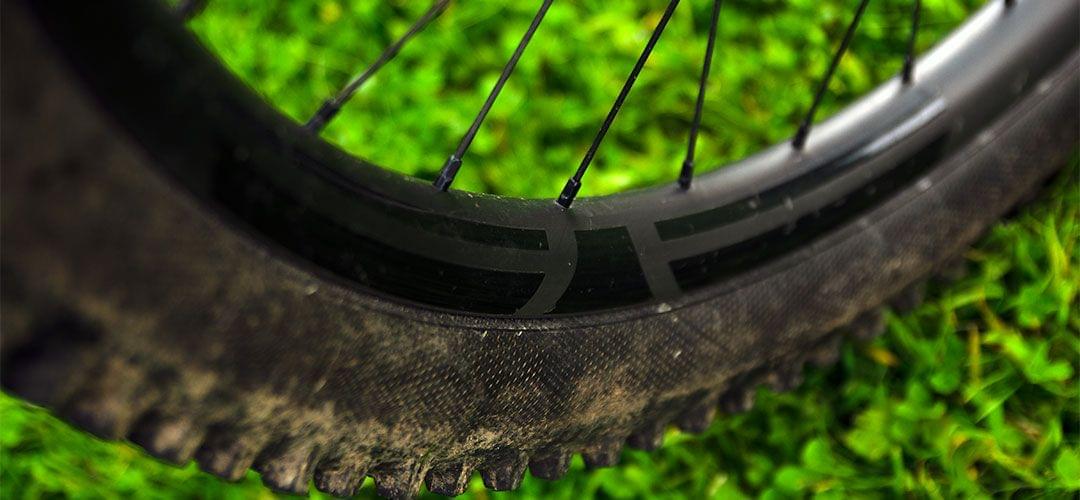
I’ve reused my trusty 27.5” EIE carbon rims. However, as both the frame and fork use boost spacing, I rebuilt the wheel using Hope Pro 4 hubs. I also moved the VeeTire Flow Snap tyres over from the old bike because they were only a couple of rides old and I’ve been getting on with them very well this spring.
Hope was also my choice for the headset and bottom bracket because of their solid reputation and the ability to replace the bearings when needed without having to replace the complete part. I used Hope headset spacers just to keep the theme going. And the stem cap is a custom made item by Slicy Products showing off the Emerald MTB logo.
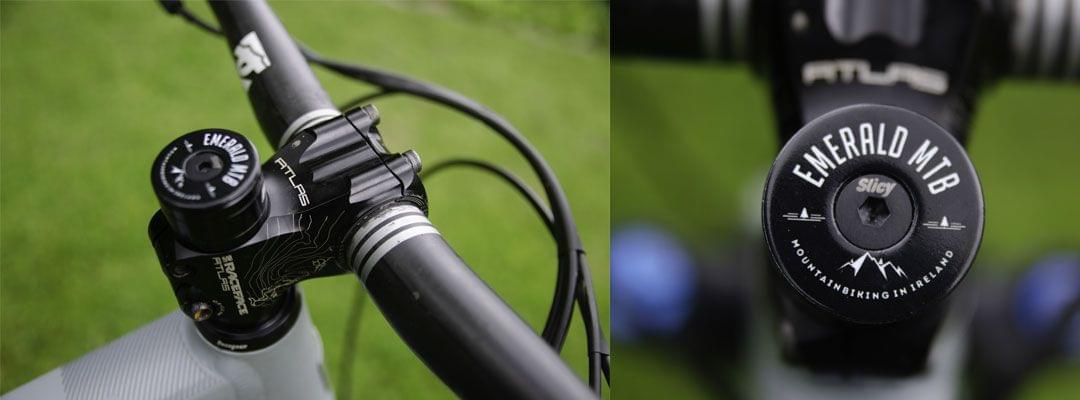
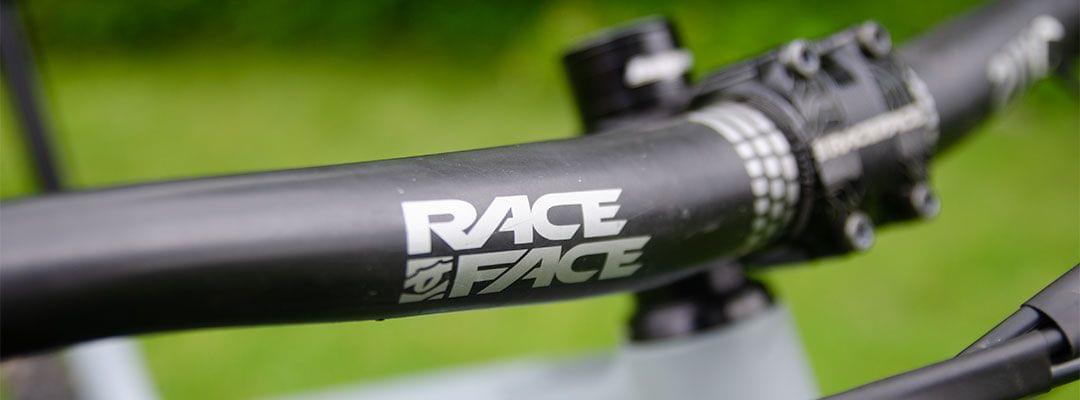
More parts to make the move from old bike to new were my Raceface Atlas 50mm stem and the 31.5mm Raceface SixC handlebars which are cut to 760mm. I do have a new set of bars coming in for a review which are wider, so that will be an interesting comparison.
ESI Grips Chunky silicone grips provide a comfortable perch for my hands.
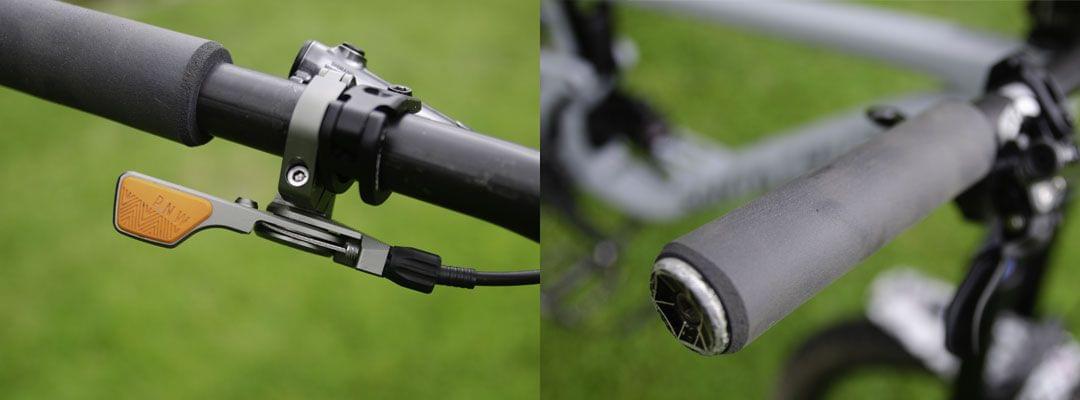
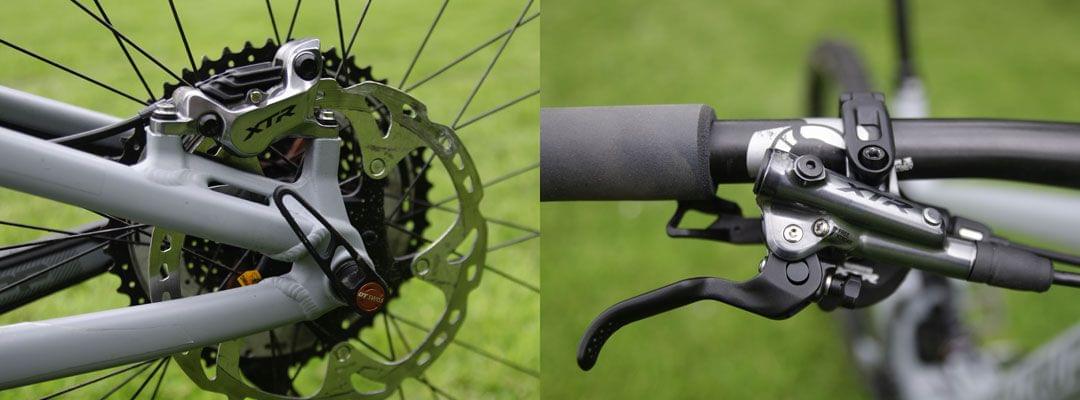
Having spent a couple of years using Shimano Zee brakes I wanted to stay with the four-piston callipers but upped the bling factor by choosing XTR M9120 Trail brakes paired with Shimano IceTech rotors, 180mm on the back and 203mm on the front. The XTR M9000 11-speed shifter is attached to the brake clamp to keep the bars nice and tidy. On the opposite side, my trusty PNW Components Loam Lever controls the 170mm OneUp Dropper post and DMR Stage 1 seat.
I have tried but not really seen the point of carbon cranks. This time I wanted something more budget friendly. I ended up choosing the Raceface Aeffect cranks because of their Cinch chainring fitting and they’re black. I’m also running an experiment on crank length, so these cranks are 165mm long.
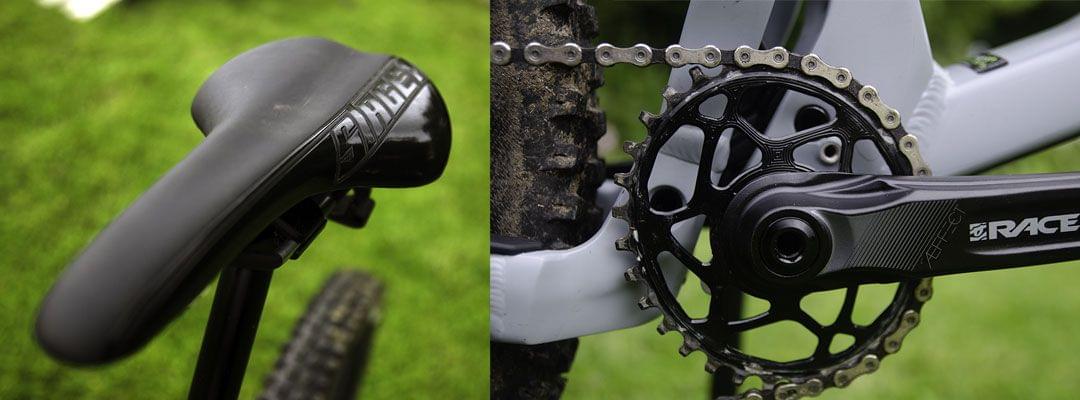
DMR Vault Magnesium pedals keep my feet planted on the roughest of trails. And a 32-tooth AbsoluteBlack Oval Cinch chainring completes the front half of the drivetrain.
The 11-speed drivetrain is completed with an XT M8000 medium cage derailleur and a SunRace 11-50 cassette.